Camp
SCHOOL PROJECT
Objective
Camp is a 3D animation that portrays the story of a cat that learns to open up to their friends. To create this short animated film it required, developing the story, creating a storyboard, modelling all the characters, environments, items, and animating then rendering all the different scenes.
Skills:
3D Modelling
3D Animation
Texturing
Timeline:
Oct - Dec 2024
Tools:
Maya
Photoshop
Clip Studio Paint
Members:
Nadine Elkabir
Nick Yokoyama
Baktash Lakdashti
Ideation
1.
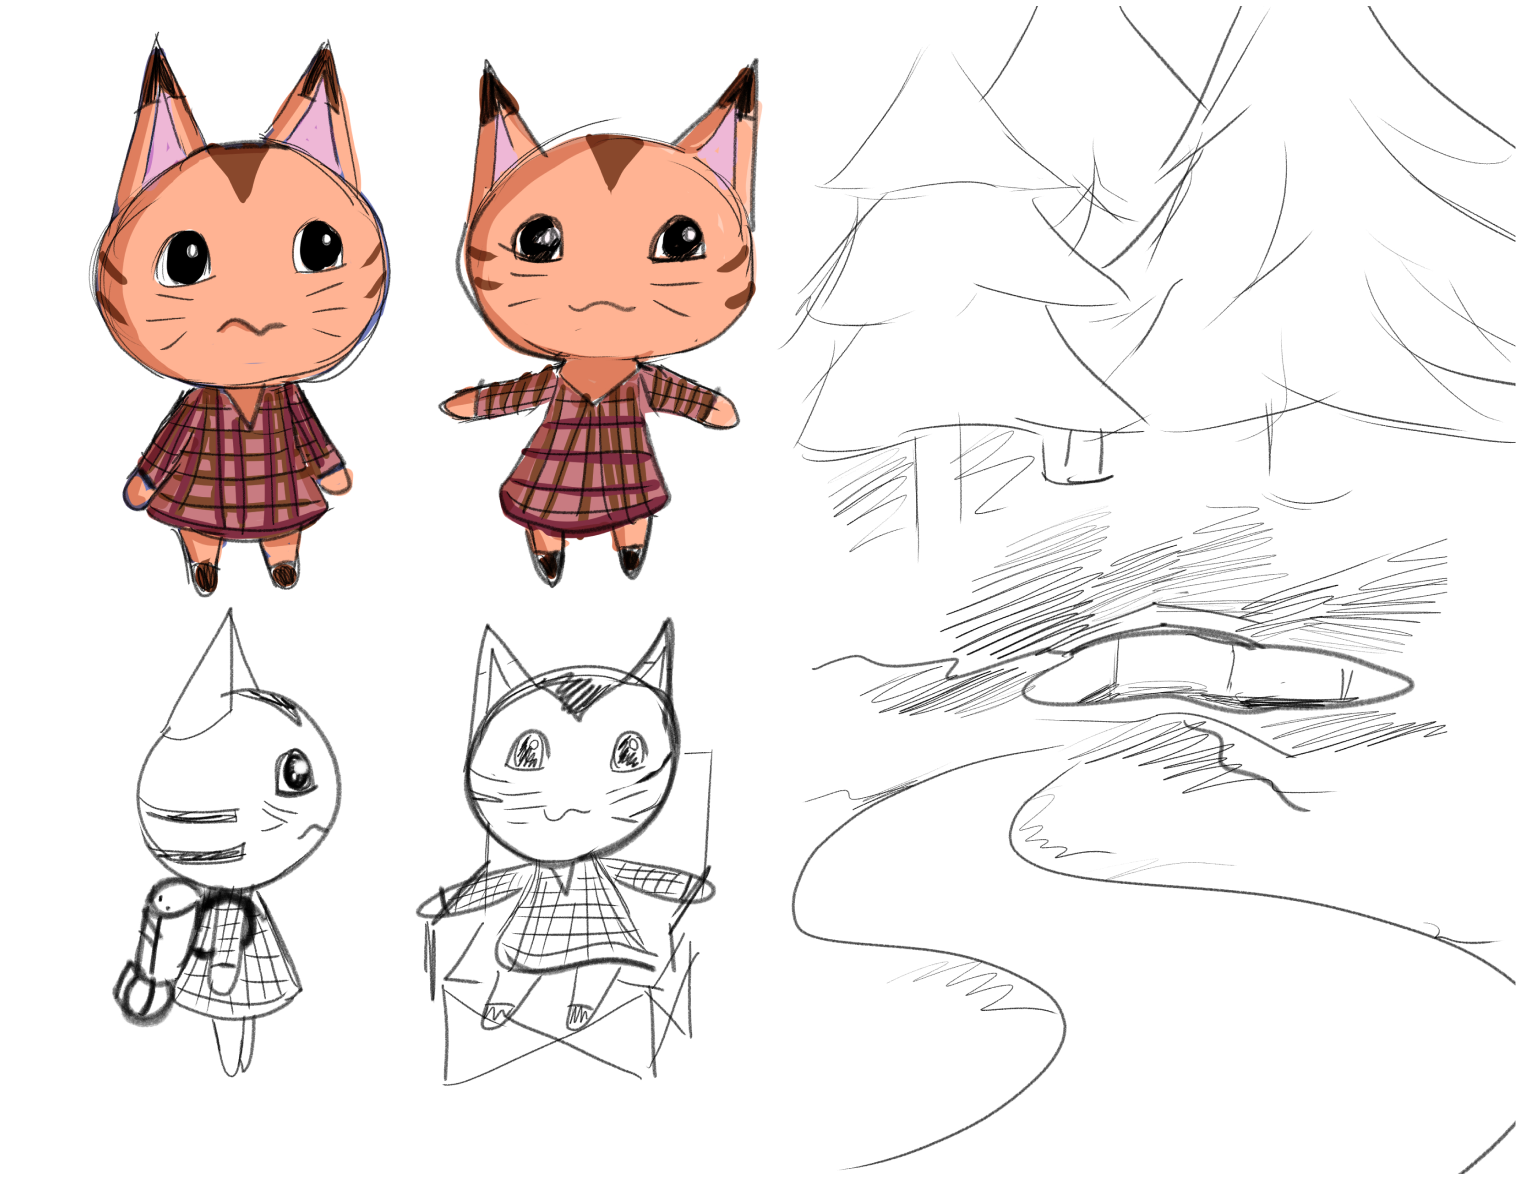
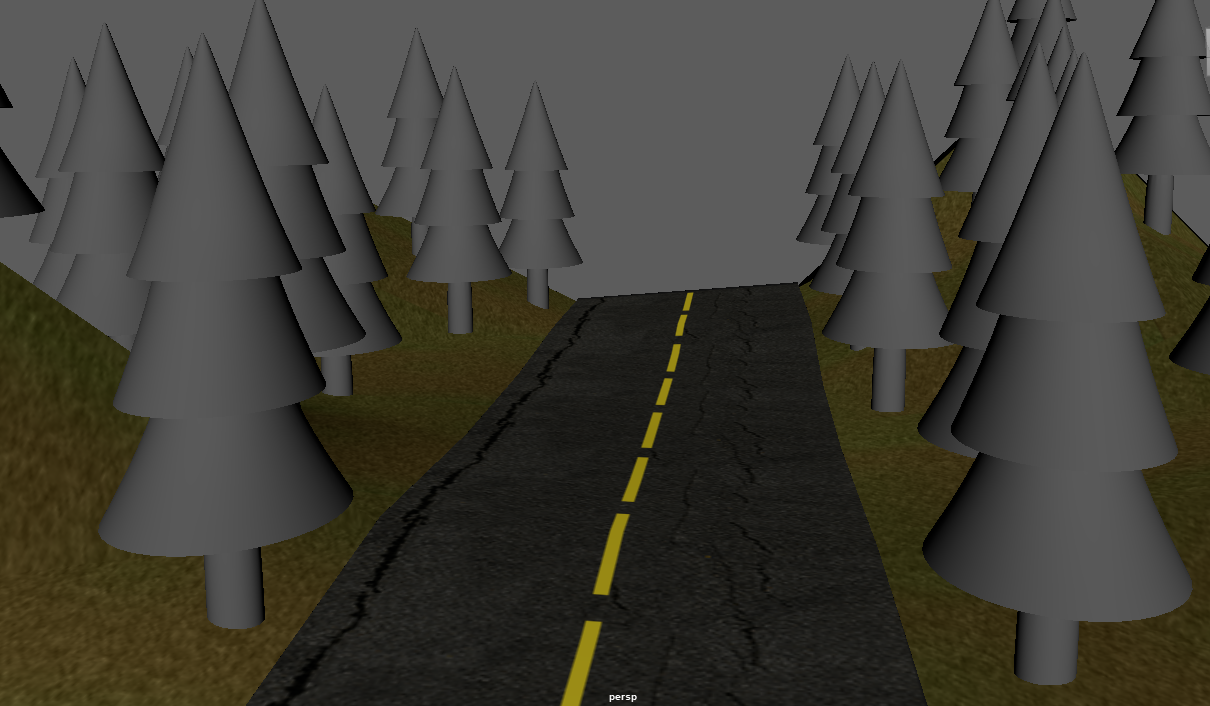
The goal of this project was to create a short, animated horror film. We took a lot of inspiration from Animal Crossing characters their simple cute look, and movies like the Cabin in The Woods. I sketched one of our potential characters along with many concept environment ideas to display how we wanted the film to look. I oversaw sketching one of our four main characters. To get an idea of the actual look of our animation I created environment sketches, and setting sketches.

Storyboard
2.
Although my role was not in creating the storyboard, this is the video to get an idea of the next steps.
Modelling
3.
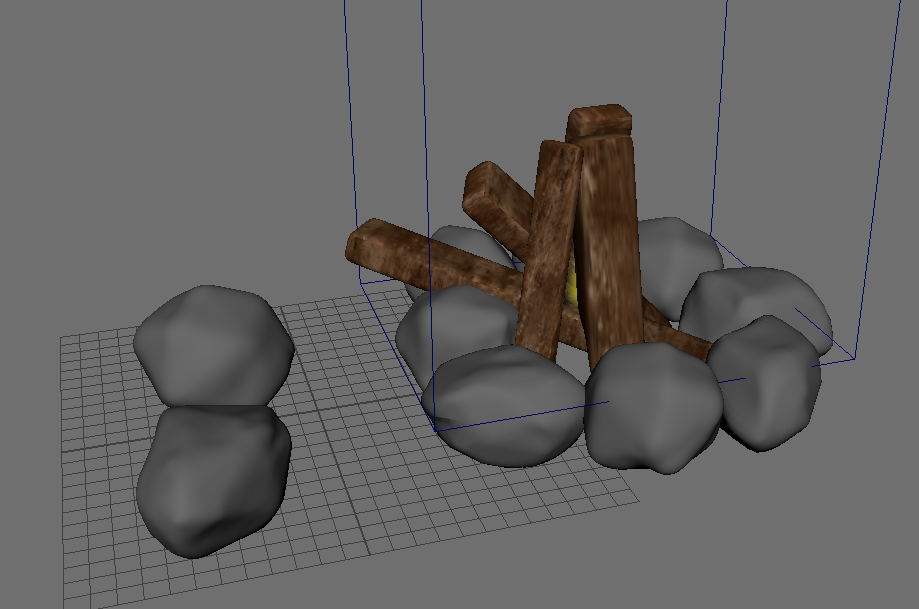
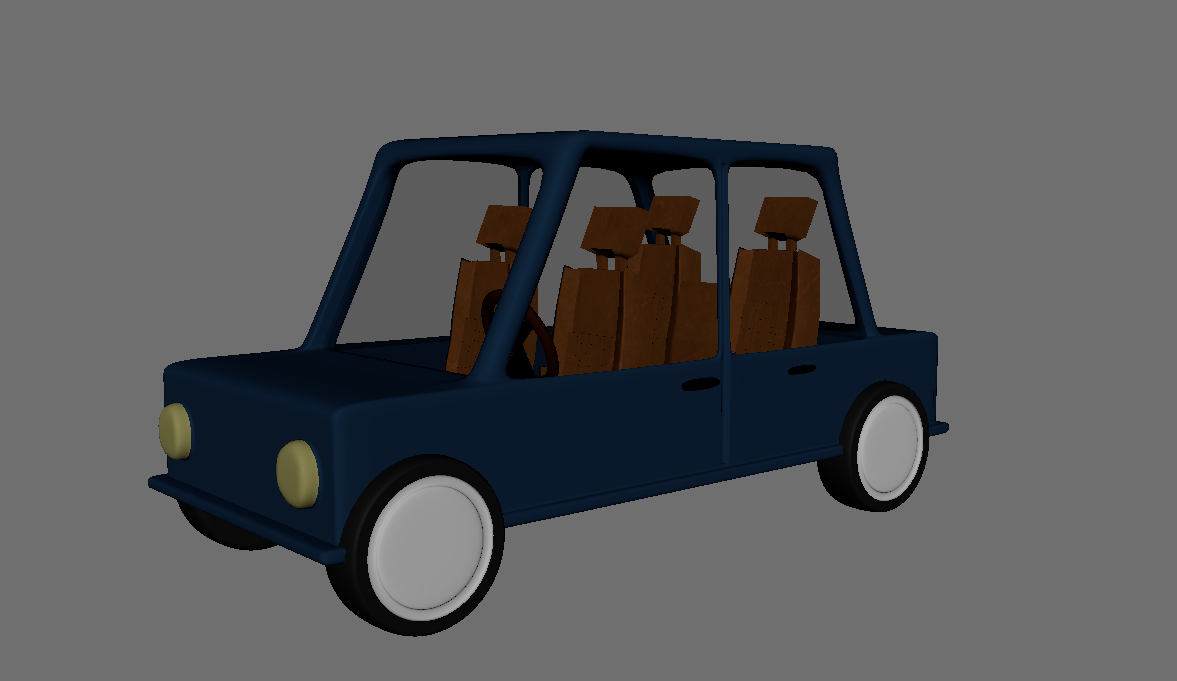
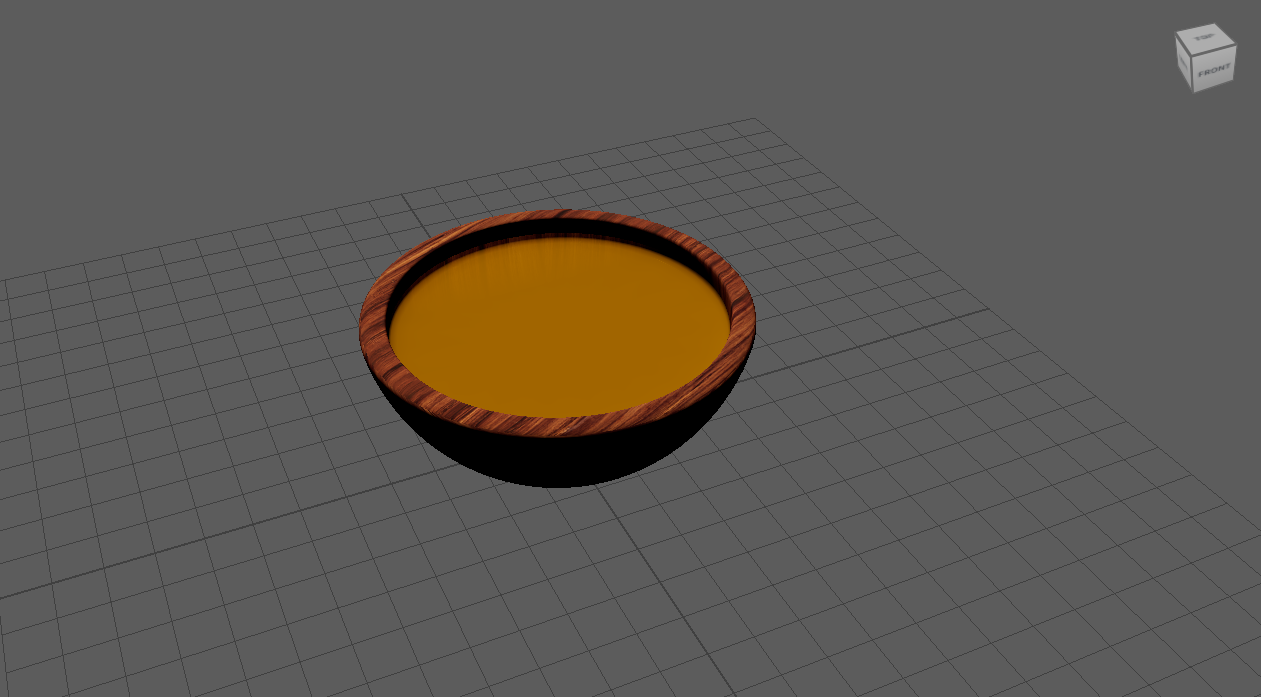
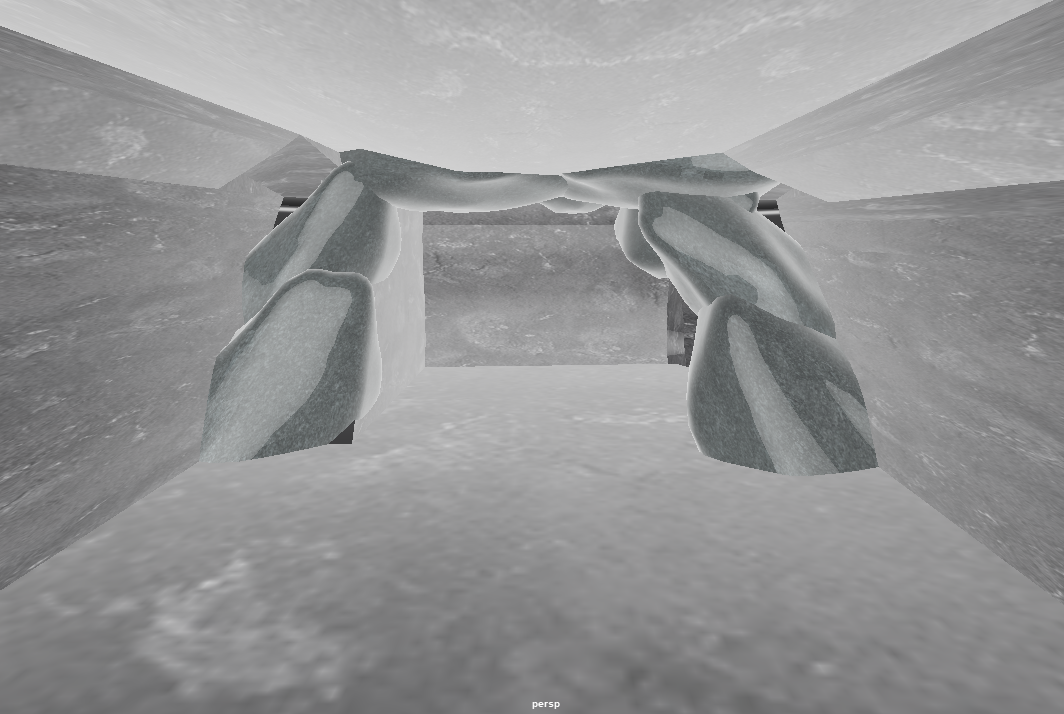
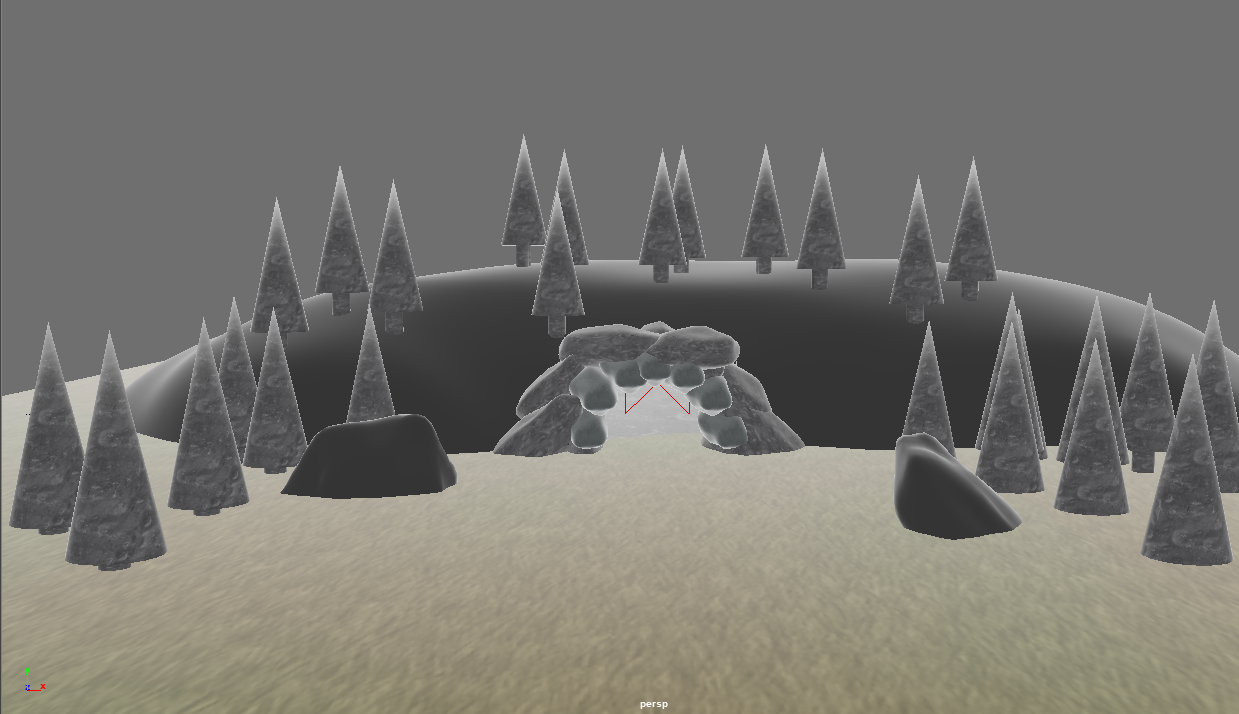
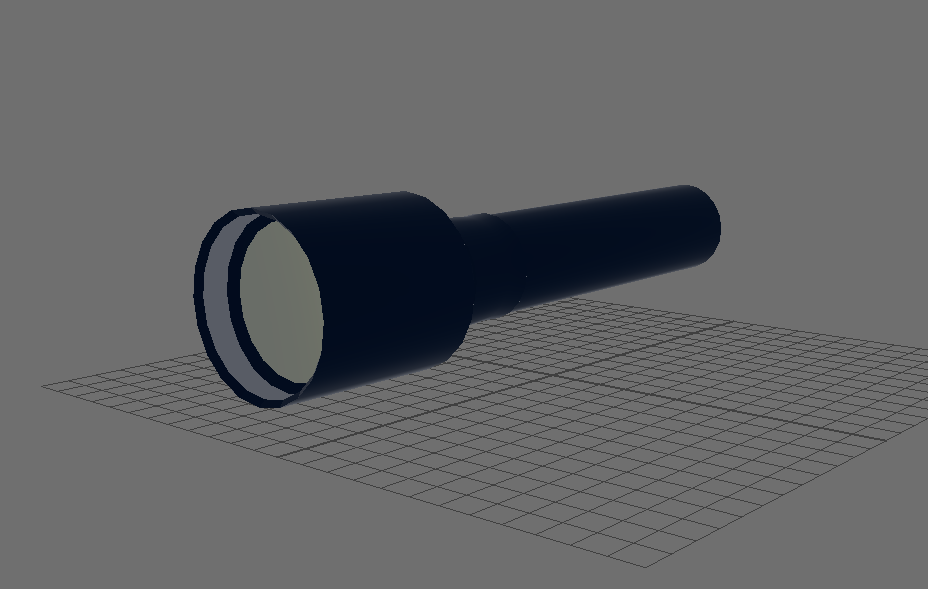
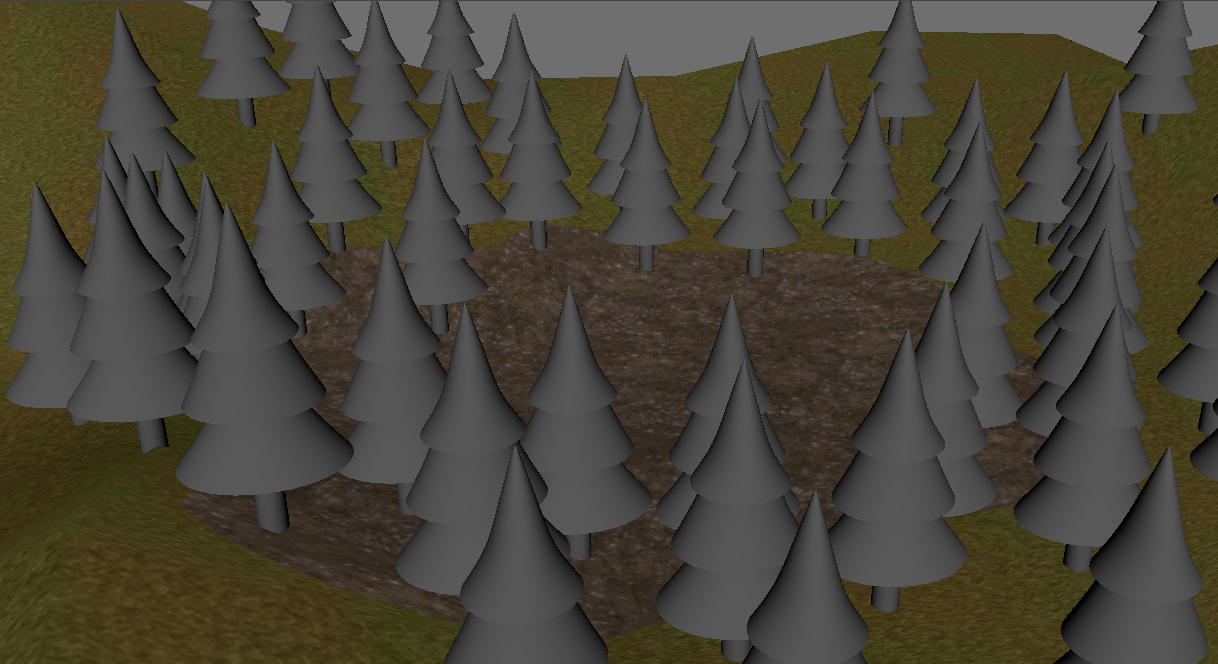
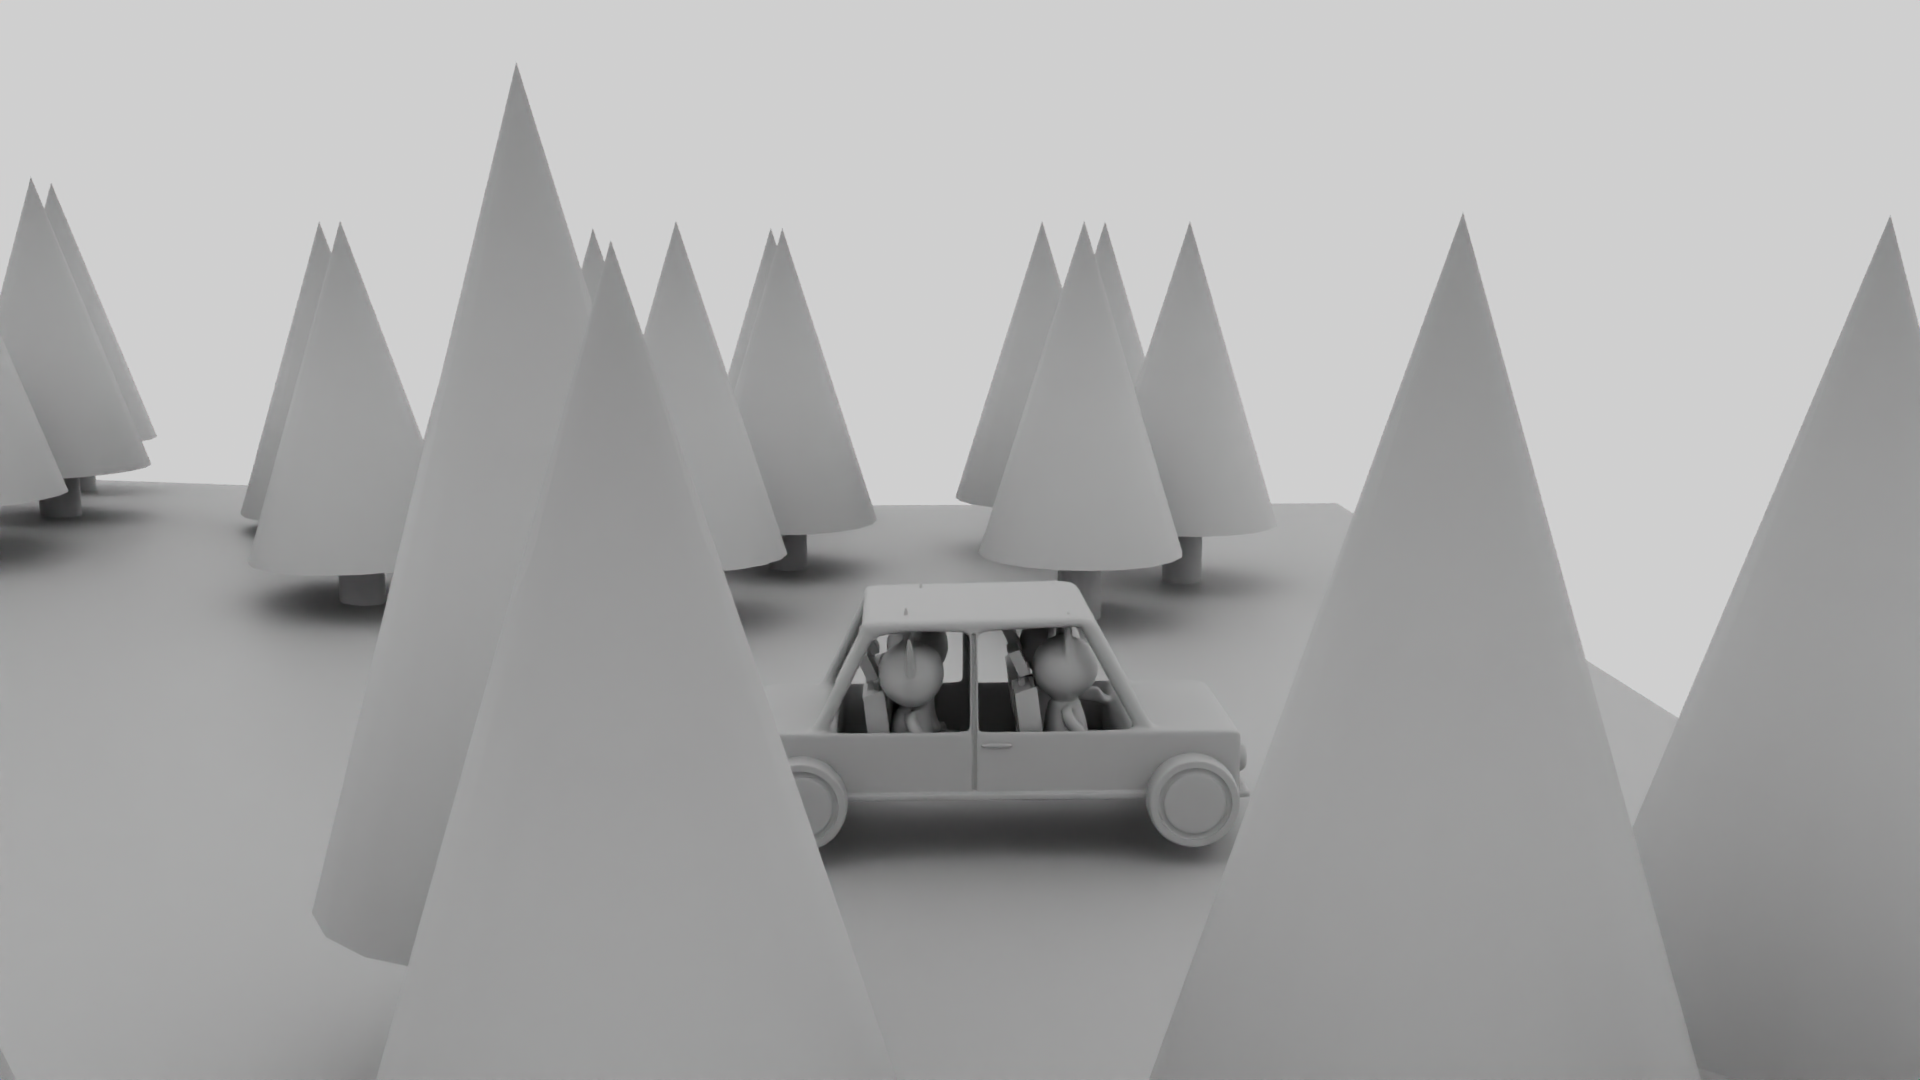
After we had created the storyboard and our shot list the next task was to model the characters and items that we would need for our short film. This was divided up between each member. I was in charge of modelling props and some environments. Who did what changed between the animatic and the final animation. All the models were created using Maya.
During this stage of the project, I struggled a lot to create our car model. This was because I had to model both the interior and exterior. Creating the model for the car took a lot of patience as I had to model it with a few different methods to be able to successfully model the interior and exterior of the car while keeping the model symmetrical. In comparison it was also on a larger scale then a lot of the other props.
To create the uv maps for all my models I used Clip Studio Paint to recolour and paint over our textures to create the outdoor eerie feeling that was important to convey for the atmosphere.
Animatic
4.
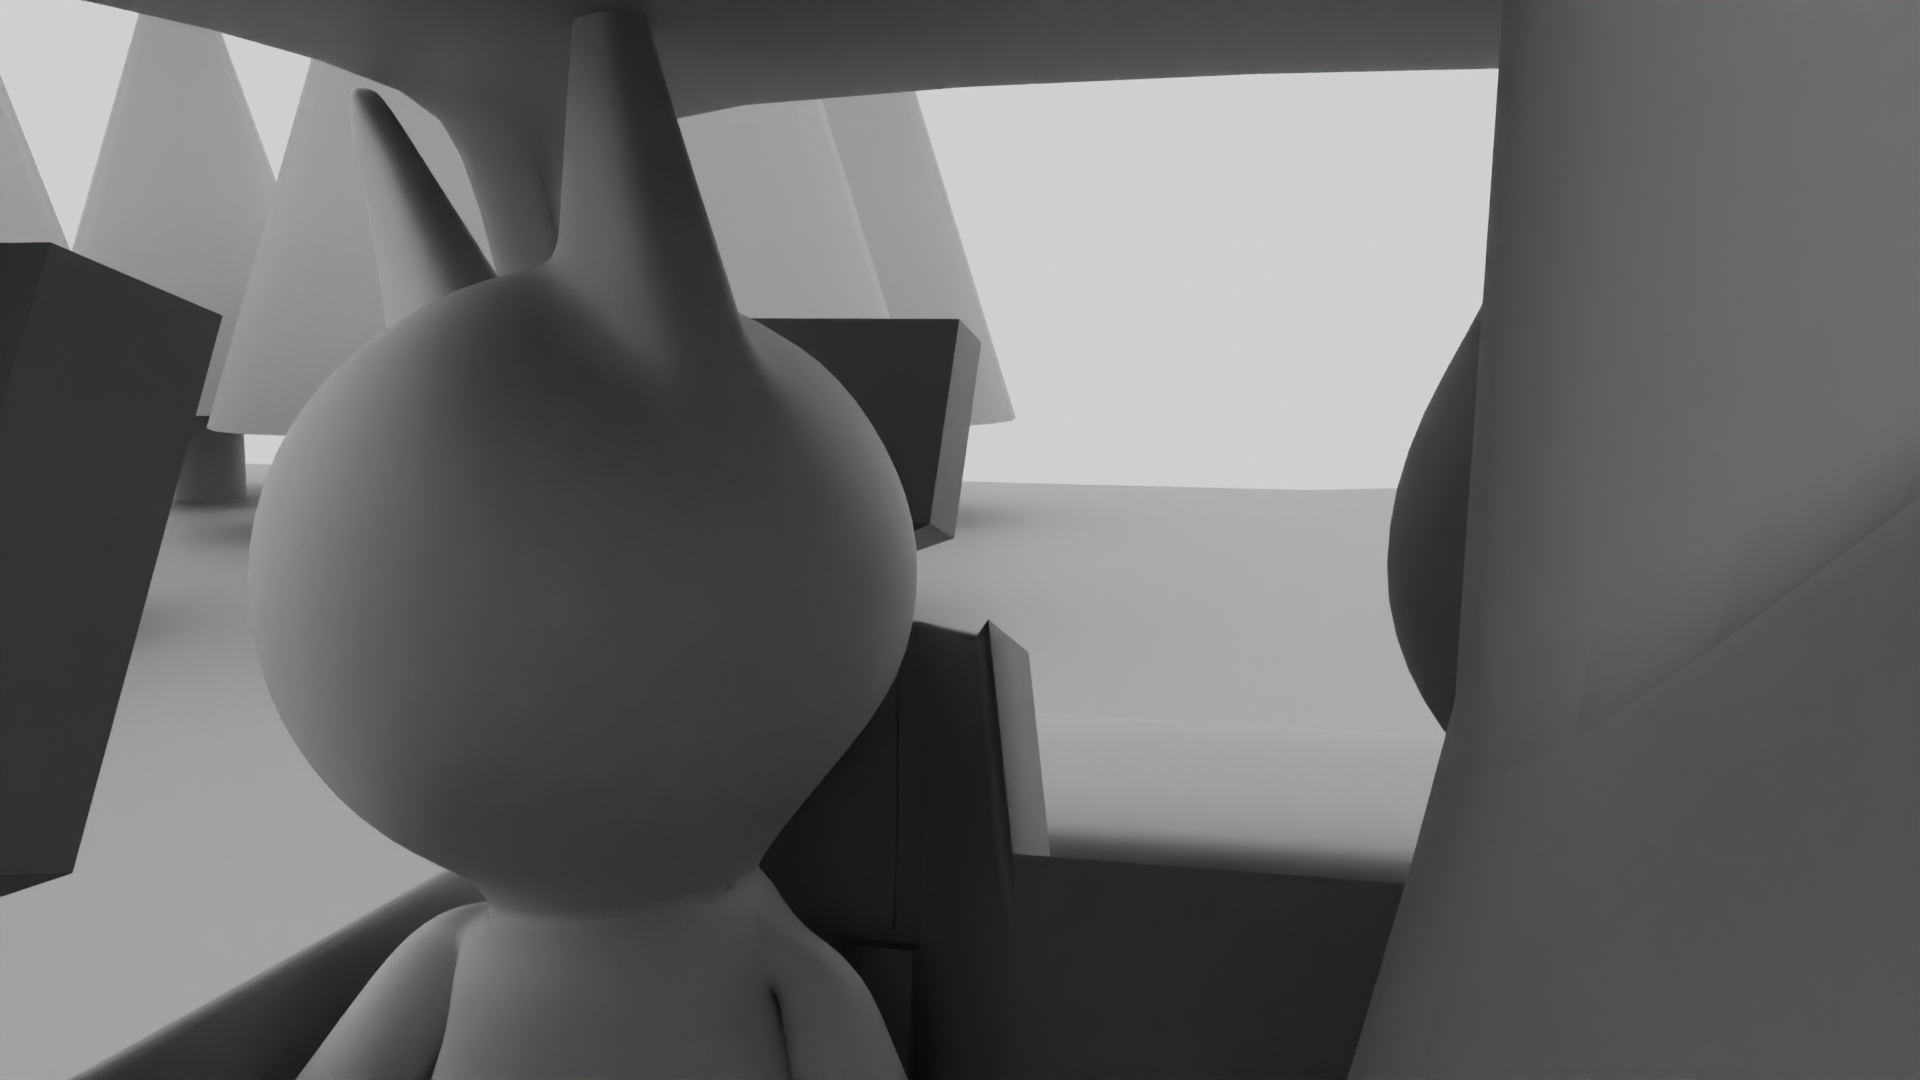
I animated the first 8 shots of the film and learned that it is easier and important to start from something simpler like an animatic and then move to the final animation. In case you need to change anything and overall makes it easier to animate later. It was important to make sure the camera views looked right for the final animation so that when I started the final animation and render it was matching with our original story planning.

Final Animation
5.
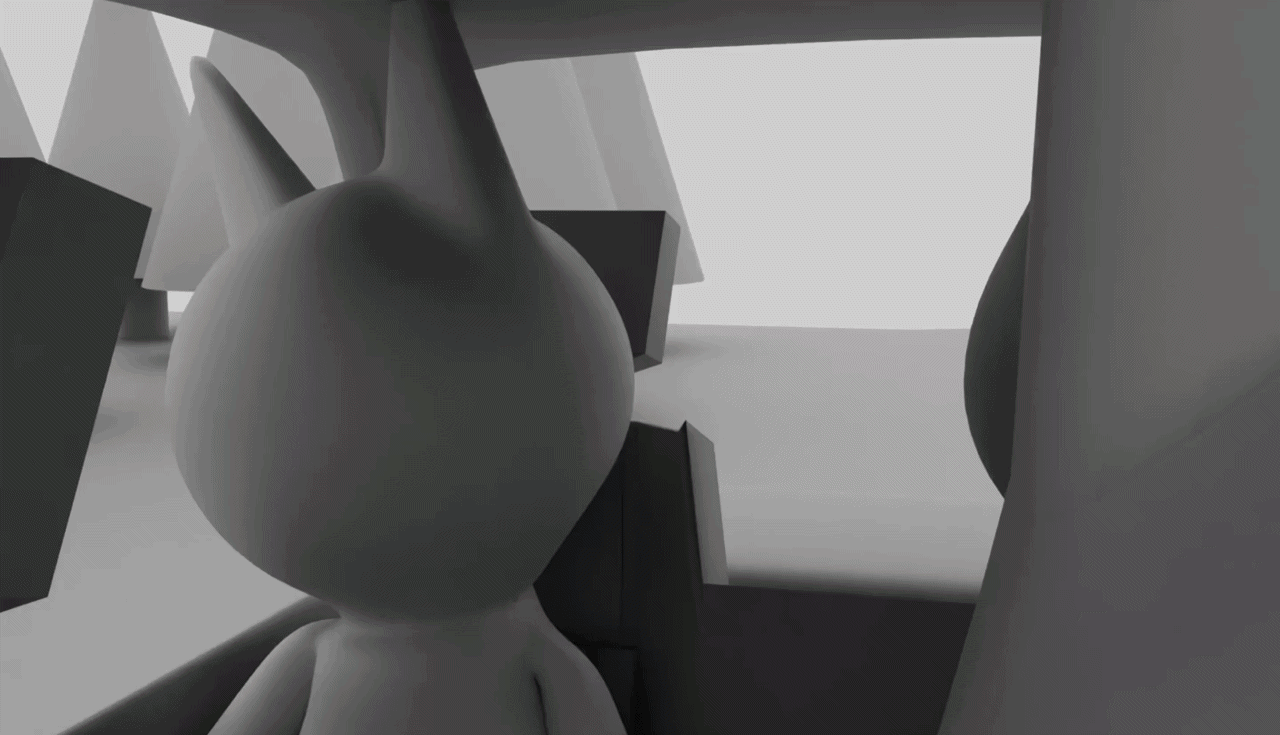
The biggest challenge with creating the final animations was accounting for the render time for all the shots and meeting the project deadline. I think because of the organization from myself and my teammates this phase of the project was easier than I originally thought it would be. I did face some difficulty really creating clear action and expression using our character models because they’re created with simple shapes.
Finally, due to some complications, our original horror film idea had to be shifted into a short animation about opening up to others. My teammates and I were able to split the final animation and render work to create our final animation, and this outcome taught me how important team communication is. Relying on your teammates and doing your part is essential to delivering a good final product.
